Editing a Receiving Order
You are able to change the information associated with a saved receiving order at the Receiving Orders page.
Select Orders > Receiving Order to reach the Receiving Orders page.
Select the Order to Edit
Next, select the order that you want to edit. In the Select Order portion of the page, click the drop-down arrow in the Order Number field and select the order from the list that appears.
- Open Order: Only an open order may be edited.
- To View Open Orders Only: Do not mark the Show Closed Orders checkbox.
The selected order populates the page.
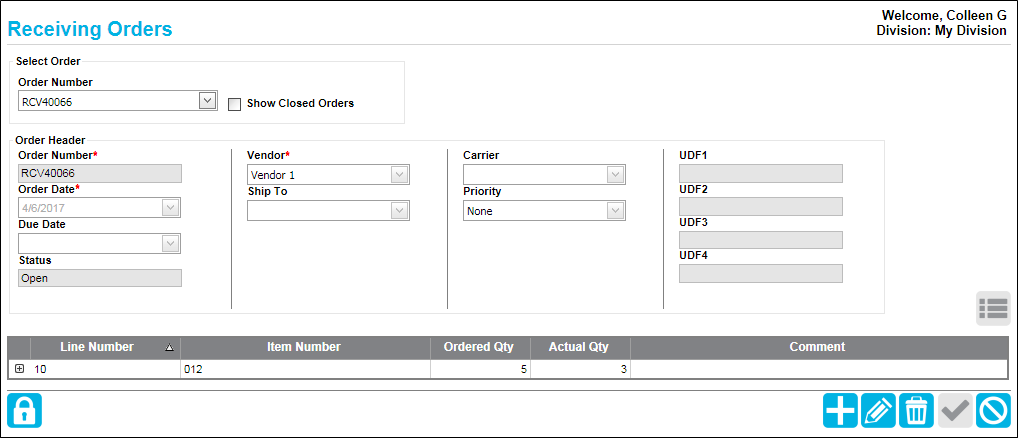
The following icons in the bottom right portion of the form activate: Add, Edit, Delete, and Cancel.
How to Edit the Order
After you select the order, click the Edit icon along the bottom right of the page to place the order in Edit mode.

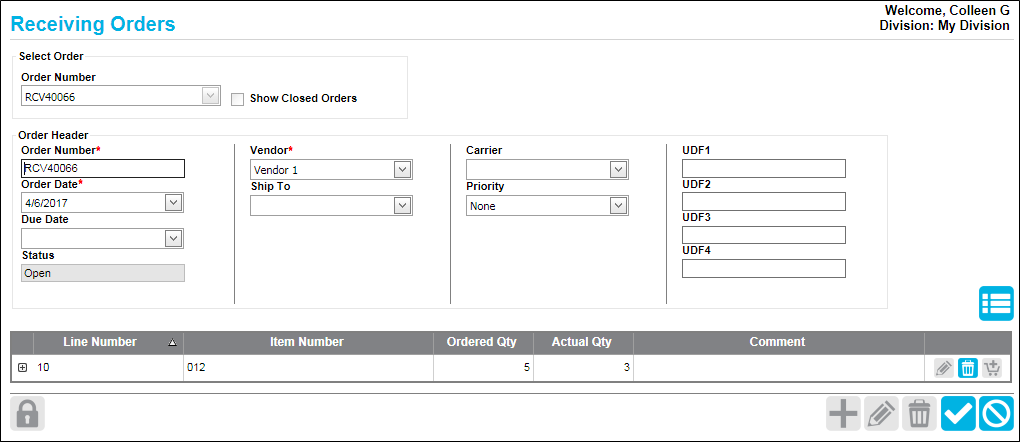
- When the selected order is in Edit mode, the Select Order section of the page becomes inactive.
- The Order Header portion of the page and the Details portion of the page become active.
- Notice the icons along the bottom right of the page: the Save and Cancel icons activate; the Add, Edit, and Delete icons inactivate.
Editing Order Header Information
You are able to change any of the basic order information found in the Order Header portion of the page except for the order number:
- Order Number: cannot be changed.
- Order Date: to change the order date, click the drop-down arrow in the Order Date field and select the date from the calendar control that appears.
- Due Date: to change the order date, click the drop-down arrow in the Due Date field and select the date from the calendar control that appears.
- Vendor: To change the order's vendor, click the drop-down arrow in the Vendor field and select the vendor from the list that appears. The vendor list is pulled from the vendors entered at the Manage Vendors page (see "Vendors").
- Ship To: click the drop-down arrow in the Ship To field and select from the ship-to addresses loaded for this customer from the ship-to list that appears. The ship-to address list that is available for this customer comes from the ship-to address list entered for this customer at the Manage Customers page (see "Customer Ship-To Addresses"). If this list is empty, it is because the ship-to address list for this customer is empty.
- Carrier: To change the order's carrier, click the drop-down arrow in the Carrier field and select the carrier from the list that appears. The carrier list is pulled from the carriers entered at the Manage Carrier and Shipping Methods page (see "Carriers"). If this list is empty, it is because the system carrier list is empty.
- Priority: To change the order's priority, click the drop-down arrow in the Priority field and select the priority from the list that appears.
- UDF 1-UDF 4: Information entered in these fields may be changed.
Editing Order Details
In the order details portion of the page, you are able to edit any line item in the order:
Editing a Line Item
You are able to edit a line item when the order is in Edit mode; see "Editing an Item for Receipt" for more information.
Deleting a Line Item
You are able to delete a line item when the order is in Edit mode; see "Deleting an Item for Receipt" for more information.
Receiving a Line Item
If you are ready to receive an item or all the items in the order, you are able to do so now. Each line item is received individually at the Receive Inventory form and then it is added to the Actual Quantity in the line item at the Receiving Orders page. When the receiving order is saved, any item quantity placed in the Actual Qty field will be received into inventory. Click the Receive icon in the order line to reach the Receive Inventory form and receive this item; see "Receiving an Item" for more information.
Adding a Line Item
You are able to add a line item when the order is in Edit mode; see "Adding a Receive Item" for more information.
Saving the Changes to the Order
When you are finished, click the Save icon along the bottom right of the page to save the changes to the order.

The page clears, indicating that the changes have been saved to the order. If you entered an actual quantity for any of the items in the order details, they will be received into inventory upon saving the order.
Canceling the Changes to the Order
When you are finished, if you do not want to save any of the order changes, including those made to the line items, click the Cancel icon.

The page clears; the changes that were made to this order are discarded.